Step 4: Deploy GitLab for BuildStreaM Integration: Automated Pipeline Execution and Build Monitoring
GitLab serves as the automation engine for BuildStreaM, providing the pipeline execution framework that processes catalog definitions and orchestrates the build workflows. Deploy GitLab to enable automated pipeline execution, catalog management, image building, and cluster node discovery. This procedure covers GitLab installation, project setup, runner verification, and service validation.
Prerequisites
Before deploying GitLab for BuildStreaM:
Ensure that Omnia BuildStreaM container, PostgreSQL container, and Playbook Watcher service are deployed on the OIM node (see Prepare the Omnia Infrastructure Manager)
The node where GitLab will be deployed must have Internet connectivity.
A dedicated node is required for BuildStreaM GitLab deployment.
The node must have sufficient system resources for BuildStreaM (minimum 4 GB RAM, 2 CPU cores, 20 GB free disk space)
GitLab requires a minimum of 2 CPU cores. More cores may be needed for production workloads.
OIM node must be accessible from the GitLab node.
Ensure that BuildStream API server (BuildStream container) is reachable from the GitLab node.
Ensure that appStream and Base OS repositories are configured and accessible from the GitLab node.
Ensure that on the GitLab node, SELinux is disabled.
Important
Omnia uses a dedicated GitLab instance for BuildStreaM. This procedure provisions a new GitLab instance specifically configured for BuildStreaM. Currently, existing GitLab setups configured for other purposes are not supported.
Procedure
Use SSH to connect to the
omnia_corecontainer.ssh omnia_coreNavigate to
/opt/omnia/input/project_default/gitlab_config.ymland update GitLab host IP address and other parameters related to GitLab for BuildStreaM in thegitlab_config.ymlfile. Use the GitLab configuration table for reference.cat /opt/omnia/input/project_default/gitlab_config.ymlNavigate to the GitLab directory.
cd /omnia/gitlab
Run the
gitlab.ymlplaybook:ansible-playbook gitlab.ymlWhen it prompts you to enter the GitLab password, enter the password. Note the password as it is required to access the GitLab project and instance.
This gitlab.yml playbook performs the following tasks:
Installs the GitLab instance on the host specified in the
gitlab_config.ymlfile.In the GitLab instance, creates a project with the specified name, visibility, and default branch as configured in the
gitlab_config.ymlfile.Installs GitLab runner as a Podman container.
Generates a self-signed CA certificate for GitLab on the GitLab node at
/root/gitlab-certs/ca.crt- Adds the project with the following files:
README.MD - Project documentation
catalog_rhel.json - Default catalog file
.gitlab-ci.yml - Pipeline configuration file
Note
The installation may take 10-15 minutes to complete.
To avoid Not Secure warnings when accessing the GitLab instance, download and import the certificate generated in step 4 to the browser.
Verification
After the installation of GitLab complete, verify the following:
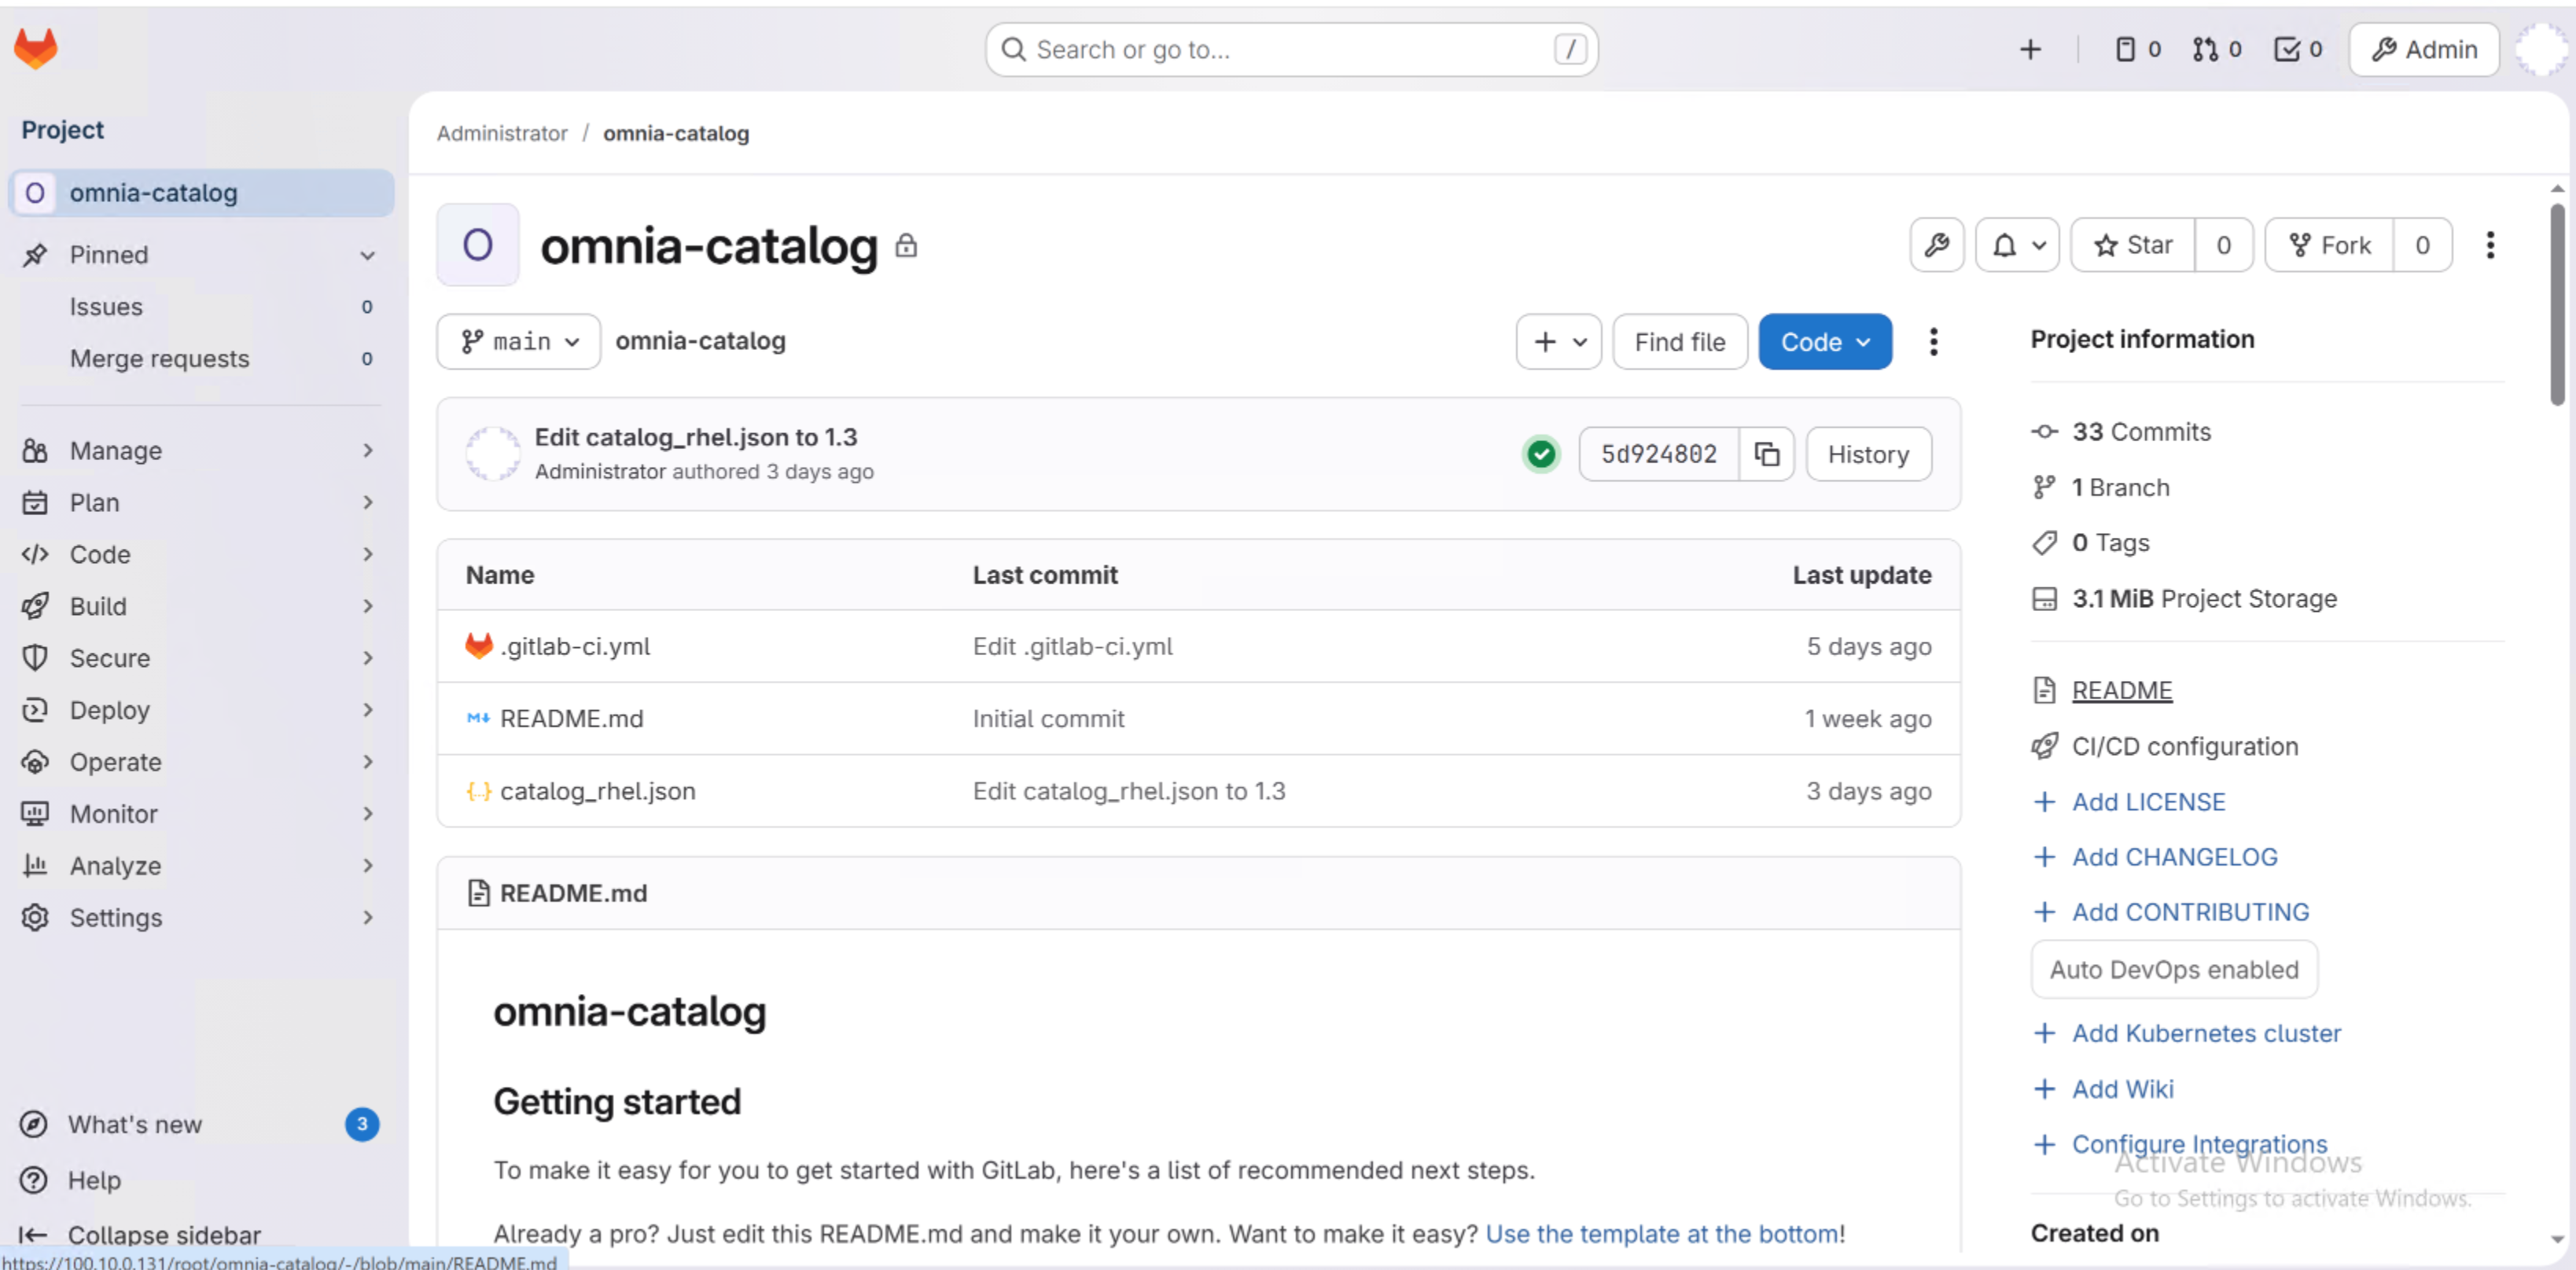
Verify you can access the GitLab project URL.
https://<gitlab_host>:<gitlab_https_port>/root/<gitlab_project_name>
- The project should contain:
README.MD— Project documentation with setup instructions and usage guidelines
catalog_rhel.json— Default catalog file containing build definitions for RHEL images
.gitlab-ci.yml— Pipeline configuration file defining automated build stages and execution steps
Verify runner status through GitLab web interface:
Navigate to Settings → CI/CD.
Expand Runners section.
Verify the runner shows a green status indicator.
Confirm runner is set to Running Always with Podman Container.
Next Steps
After completing GitLab deployment, update the catalog file to automatically trigger the pipeline. See Step 5: Update Catalog and Execute Omnia BuildStreaM Pipeline.
If you have any feedback about Omnia documentation, please reach out at omnia.readme@dell.com.